Ever tripped over a wave in your carpet? That pesky buckling can be more than just an eyesore; it's a safety hazard waiting to happen. But don't worry, you don't necessarily need to call in a professional. Fixing buckled carpet is often a DIY project you can tackle yourself with a little patience and the right tools. Let's explore how to get your carpet smooth and flat again! Why is My Carpet Buckling? Understanding the Root Causes Before you dive into fixing the problem, it's helpful to understand why your carpet is buckling in the first place. Identifying the cause will not only help you choose the right solution but also prevent the problem from recurring. Common Culprits Behind Carpet Buckling: Improper Installation: This is the most frequent offender. If the carpet wasn't stretched correctly during installation, it's prone to loosening and buckling over time. Humidity: Excessive moisture can cause the carpet fibers and...
Okay, so you were aiming for that perfect, airy loaf, but now your dough looks like it's about to escape the bowl and take over your kitchen! Don't panic. We've all been there. Overproofed dough happens, especially when life gets in the way and you lose track of time. The good news is, all hope isn't lost. There are things you can do to salvage your dough and still end up with something delicious. Let's dive into the world of fixing overproofed dough.
Understanding Overproofed Dough and How to Identify It
First, let's understand what exactly constitutes overproofed dough. Proofing, also known as the second rise, is when your dough rises after it has been shaped. During proofing, the yeast is working hard, producing carbon dioxide, which creates air pockets within the dough. This gives the bread its light and airy texture. However, if the dough proofs for too long, the yeast essentially runs out of food, weakens, and the gluten structure collapses. This leads to overproofed dough.
How to Tell if Your Dough is Overproofed
There are several telltale signs that indicate your dough has gone too far:
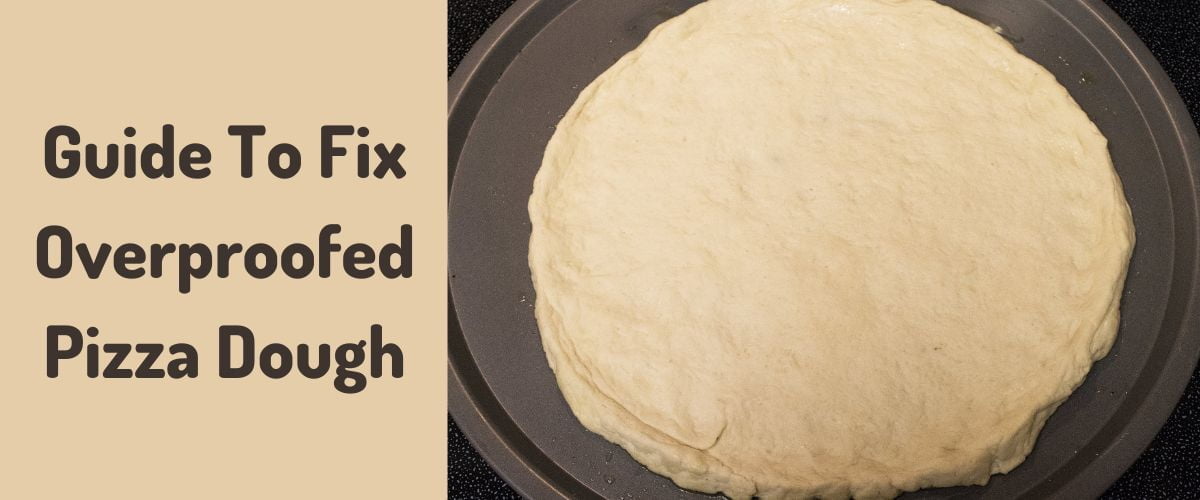
- Appearance: The dough will look excessively puffy, almost inflated like a balloon.
- Touch: When gently poked, the dough won't spring back; instead, it will deflate or leave a deep indentation that doesn't recover. A properly proofed dough will slowly spring back when gently poked.
- Smell: Overproofed dough often has a strong, almost beer-like or alcoholic smell. This is due to the excessive fermentation by the yeast.
- Structure: The gluten structure will be weak. This means the dough will feel slack and difficult to handle. It might tear easily.
Why Does Dough Overproof?
Several factors can contribute to dough overproofing:
- Too much yeast: Using too much yeast in your recipe speeds up the fermentation process, increasing the risk of overproofing.
- Warm temperatures: Yeast thrives in warm environments. Proofing dough in a warm place (above 80°F/27°C) will accelerate the rising process and can easily lead to overproofing.
- Excessive proofing time: The most obvious cause is simply leaving the dough to proof for too long. This is especially true if your kitchen is warm or you're using a recipe you're unfamiliar with.
- High hydration: Doughs with high water content tend to proof faster than drier doughs.
How To Fix Overproofed Dough: Salvaging Your Baking Project
Okay, your dough is showing all the signs of being overproofed. What can you do? Don't despair! Here are some strategies to try andfix overproofed dough:
The Punch-Down and Reshape Method
This is the most common method and often works wonders. Here's how to do it:
- Gently punch down the dough: Carefully deflate the dough to release the excess gas. Avoid being too rough, as you don't want to completely destroy the gluten structure.
- Reshape the dough: Gently reshape the dough into your desired form. This helps to redistribute the yeast and gluten.
- Proof again (briefly): Allow the dough to proof again for a shorter period of time, usually about half the time of the original proofing period. Keep a close eye on it!
- Bake: Bake according to your recipe.
Why this works: Punching down the dough releases the excess carbon dioxide, which has weakened the gluten structure. Reshaping helps to redistribute the yeast and gluten, giving the dough a second chance to rise properly. The shorter second proofing period prevents the dough from overproofing again.
The "Slap and Fold" Technique
If your dough is extremely slack and sticky, the "slap and fold" technique can help to strengthen the gluten.
- Turn out the dough: Gently turn the dough out onto a lightly floured surface.
- Slap and Fold: Pick up one end of the dough and slap it down onto the counter. Then, fold the dough over onto itself. Rotate the dough 90 degrees and repeat. Do this for 5-10 minutes.
- Rest: Cover the dough and let it rest for 15-20 minutes.
- Shape and proof: Shape the dough and proof for a shorter time than originally called for in the recipe.
Why this works: Slapping and folding helps to develop the gluten structure in a gentle way. The resting period allows the gluten to relax, making the dough easier to shape. This technique is particularly useful for high-hydration doughs that are prone to overproofing.
The "Refrigeration Rescue"
Cold temperatures slow down yeast activity. If you suspect your dough is getting close to being overproofed, immediately refrigerate it.
- Refrigerate: Place the dough in a lightly oiled bowl, cover it tightly, and refrigerate it for a few hours (2-4 hours is usually sufficient) or even overnight.
- Remove and Shape: Take the dough out of the refrigerator and gently shape it.
- Proof (briefly): Allow the dough to proof at room temperature for a shorter time than originally specified.
- Bake: Bake according to your recipe.
Why this works: Refrigeration slows down the yeast activity, preventing further overproofing. It also firms up the dough, making it easier to handle. Remember to adjust the proofing time after refrigeration, as the dough will be cold and will take longer to rise.
Turning Overproofed Dough into a Different Baked Good
Sometimes, despite your best efforts, the dough is simply too far gone to make a decent loaf of bread. In this case, consider repurposing it into a different baked good.
- Pizza Dough: Overproofed dough can often be used to make pizza. The slightly denser texture won't be as noticeable in a pizza crust.
- Focaccia: Focaccia is another forgiving option. The flatbread style can handle a slightly denser texture.
- Breadsticks or Croutons: Bake the dough into breadsticks or croutons. The drying process will help to mask the slightly compromised texture.
Preventing Overproofing in the Future: Tips and Tricks
Prevention is always better than cure! Here are some tips to help you avoid overproofed dough in the future:
- Use the right amount of yeast: Follow your recipe carefully and measure the yeast accurately.
- Control the temperature: Proof your dough in a cool, draft-free environment. A temperature of around 70-75°F (21-24°C) is ideal. Avoid placing your dough near a warm oven or in direct sunlight.
- Monitor the dough closely: Don't rely solely on time. Check the dough's appearance and texture to determine if it's ready to bake. Remember the "poke test"!
- Adjust proofing time based on environmental factors: If your kitchen is warmer than usual, reduce the proofing time accordingly.
- Use a reliable recipe: Start with a recipe that you trust and have had success with in the past.
- Keep a baking journal: Note down the temperature of your kitchen, the humidity, and the proofing time for each batch of bread. This will help you to learn how your dough behaves in different conditions.
Case Study: The Accidental Overnight Proof
Let's say you're making bread one evening and get called away unexpectedly. You leave the dough to proof, intending to bake it later that night, but you completely forget about it. The next morning, you find the dough has tripled in size and has a strong, alcoholic smell. It's definitely overproofed! What do you do?
In this situation, the "Refrigeration Rescue" method is your best bet. Gently punch down the dough, reshape it, and refrigerate it for a few hours. This will slow down the yeast activity and firm up the dough. After refrigeration, remove the dough, shape it, and proof it for averyshort time (maybe 15-20 minutes) before baking. While the resulting loaf might not be perfect, it will likely be edible and still enjoyable, especially if you're using it for toast or sandwiches.
Baking is a Journey, Not a Destination
Remember, baking is a learning process. Even experienced bakers encounter overproofed dough from time to time. Don't get discouraged! Experiment with different techniques and pay close attention to your dough. With practice, you'll develop a feel for how your dough should look and behave, and you'll be able to prevent overproofing more easily in the future. So, dust off your apron, embrace the imperfections, and keep baking!