Ever tripped over a wave in your carpet? That pesky buckling can be more than just an eyesore; it's a safety hazard waiting to happen. But don't worry, you don't necessarily need to call in a professional. Fixing buckled carpet is often a DIY project you can tackle yourself with a little patience and the right tools. Let's explore how to get your carpet smooth and flat again! Why is My Carpet Buckling? Understanding the Root Causes Before you dive into fixing the problem, it's helpful to understand why your carpet is buckling in the first place. Identifying the cause will not only help you choose the right solution but also prevent the problem from recurring. Common Culprits Behind Carpet Buckling: Improper Installation: This is the most frequent offender. If the carpet wasn't stretched correctly during installation, it's prone to loosening and buckling over time. Humidity: Excessive moisture can cause the carpet fibers and...
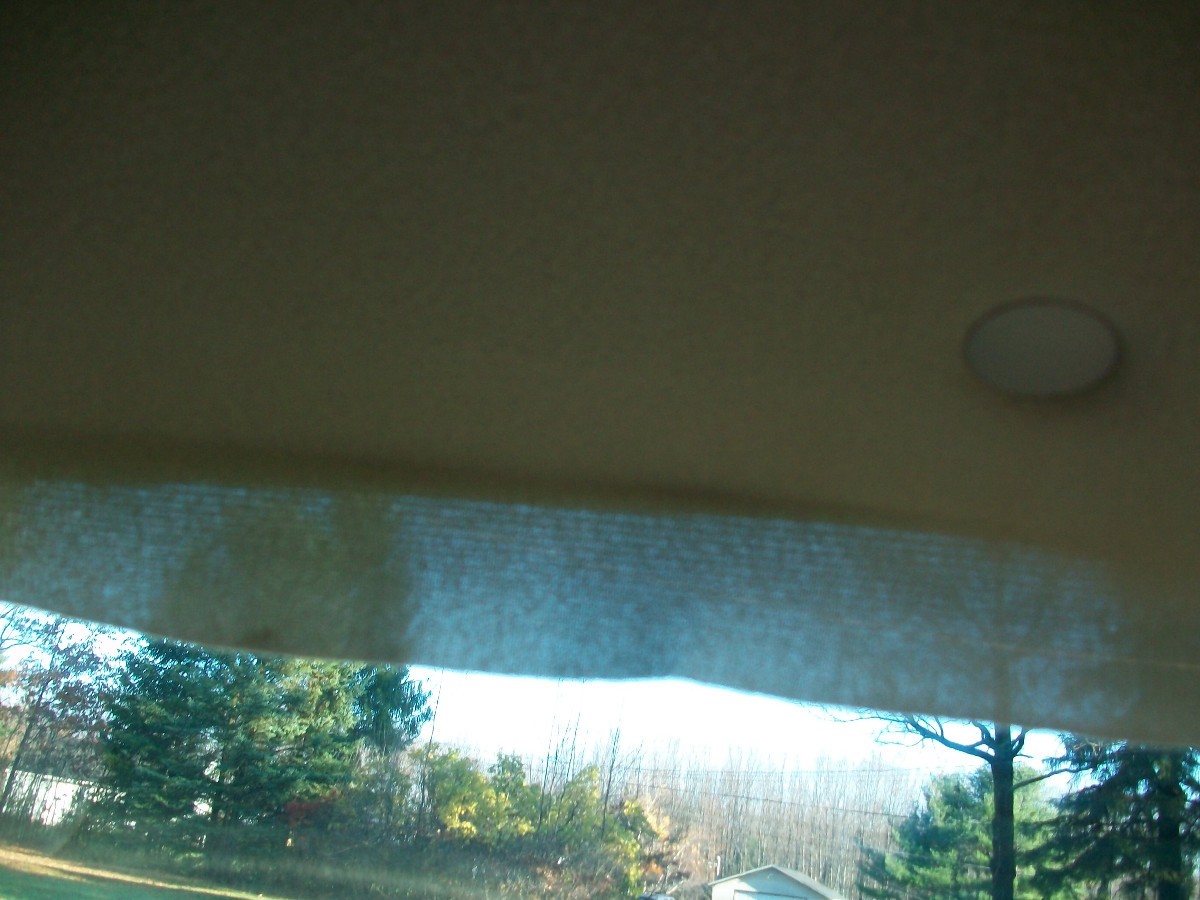
Is your car's headliner starting to sag and droop like a wilting flower? It's a common problem, especially in older vehicles exposed to heat and humidity. A sagging headliner not only looks unsightly but can also be distracting and even obstruct your vision while driving. But don't worry, you don't necessarily have to spend a fortune taking it to a professional. With a little patience, some basic tools, and the right approach, you can tackle this DIY project and restore your car's interior to its former glory. Let's explore how to fix a droopy headliner.
Understanding Headliner Sagging
Before we dive into the how-to, let's quickly cover why headliners sag in the first place. The headliner is essentially a fabric-covered board glued to the roof of your car. Over time, the adhesive holding the fabric to the backing board weakens. Several factors contribute to this deterioration:
- Heat: Prolonged exposure to high temperatures, especially in sunny climates, accelerates the breakdown of the adhesive.
- Humidity: Moisture can seep into the headliner material and compromise the glue's bond.
- Age: Like any material, the adhesive naturally degrades over time.
- Poor Initial Installation: Sometimes, the original adhesive used by the manufacturer wasn't the best quality, leading to premature sagging.
Different Methods to Fix a Sagging Headliner
There are several approaches you can take to fix a droopy headliner, ranging from temporary fixes to more permanent solutions. The best method for you will depend on the severity of the sagging, your budget, and your skill level.
Temporary Fixes for a Droopy Headliner
If you're looking for a quick and inexpensive fix, especially if you're planning to sell the car soon or want to buy yourself some time before a full replacement, these methods might be suitable:
Using Headliner Glue or Spray Adhesive
This method involves reapplying adhesive to the sagging areas. It's best suited for small, localized sags. However, keep in mind that this is often a temporary solution, as the underlying issue (the deteriorating adhesive) remains.
- Preparation: Clean the sagging area with a soft brush or vacuum to remove any loose debris or dust.
- Application: Carefully lift the sagging fabric and spray a thin, even coat of headliner adhesive (specifically designed for automotive interiors) onto both the fabric and the backing board.
- Bonding: Wait a few minutes for the adhesive to become tacky, then carefully press the fabric back onto the board. Use a clean cloth or roller to smooth out any wrinkles or bubbles.
- Drying: Allow the adhesive to dry completely according to the manufacturer's instructions, typically 24-48 hours. Use clamps or painter's tape to hold the fabric in place while it dries.
Important Note: Use a high-quality headliner adhesive designed specifically for automotive use. Regular spray adhesive may not withstand the heat and humidity inside a car and could lead to even faster sagging.
Using Headliner Repair Pins or Twists
Headliner repair pins or twists are small, plastic or metal fasteners that you insert through the fabric and into the backing board to hold the headliner in place. These are a very temporary and often unsightly solution, but they can be effective for preventing the headliner from completely detaching and obstructing your vision. These pins are not designed for long-term use and can eventually cause further damage to the headliner board if not used with care.
- Placement: Identify the areas where the headliner is sagging the most.
- Insertion: Carefully push the pins or twists through the fabric and into the backing board. Space them evenly apart, typically a few inches.
- Securing: Some pins have a twist-lock mechanism to secure them in place.
Caution: Be careful not to over-tighten the pins or twists, as this can damage the fabric or the backing board. Also, consider the aesthetics – these pins will be visible.
More Permanent Solutions for Fixing a Sagging Headliner
For a more lasting repair, you'll need to remove the headliner board from the car and either recover it with new fabric or have it professionally repaired.
Recovering the Headliner with New Fabric
This is the most involved but also the most effective way to fix a droopy headliner. It involves removing the headliner board, removing the old fabric and adhesive, and then applying new fabric with fresh adhesive. This requires more time, effort, and materials but delivers a professional-looking result.
- Removal: Carefully remove the headliner board from the car. This typically involves removing trim pieces, visors, lights, and other components. Refer to your car's repair manual for specific instructions. Take pictures as you disassemble to help with reassembly.
- Preparation: Once the board is removed, remove the old fabric and adhesive. This can be a messy process, so wear gloves and a mask. Use a wire brush or scraper to remove as much of the old adhesive as possible. A solvent might be necessary to dissolve stubborn residue.
- Cutting the New Fabric: Lay the new headliner fabric over the cleaned board, allowing for several inches of extra fabric on all sides. Cut the fabric to size.
- Applying Adhesive: Spray a thin, even coat of headliner adhesive onto both the board and the back of the new fabric.
- Bonding: Wait for the adhesive to become tacky, then carefully position the fabric onto the board, starting from the center and working your way outwards. Smooth out any wrinkles or bubbles.
- Trimming and Finishing: Trim the excess fabric around the edges of the board. Fold the edges of the fabric over the back of the board and secure them with adhesive.
- Reinstallation: Reinstall the headliner board back into the car, following the reverse of the removal process. Make sure all trim pieces and components are securely reattached.
Materials Needed:
New headliner fabric (available at automotive upholstery suppliers)
Headliner adhesive (high-temperature resistant)
Wire brush or scraper
Solvent (for removing old adhesive)
Scissors or utility knife
Gloves and mask
Screwdrivers and other tools for removing and reinstalling the headliner board
Professional Headliner Repair or Replacement
If you're not comfortable tackling this project yourself, or if the headliner is severely damaged, consider taking it to a professional upholstery shop. They have the expertise and equipment to repair or replace the headliner properly.
Cost Factors: The cost of professional repair or replacement will depend on several factors:
The make and model of your car
The extent of the damage
The type of fabric used
Get quotes from several shops before making a decision.
Preventative Measures to Avoid Headliner Sagging
While headliner sagging is often inevitable, there are steps you can take to prolong the life of your headliner:
- Park in the Shade: Whenever possible, park your car in the shade to reduce exposure to heat.
- Use a Sunshade: Use a sunshade when parking in direct sunlight to block UV rays and reduce heat buildup.
- Ventilate Your Car: Open your windows slightly to allow air to circulate and reduce humidity.
- Regular Cleaning: Gently vacuum the headliner regularly to remove dust and debris. Avoid using harsh chemicals or excessive moisture.
Troubleshooting Common Headliner Issues
Even with careful preparation and execution, you might encounter some issues during the headliner repair process. Here are some common problems and how to address them:
- Wrinkles and Bubbles: If you get wrinkles or bubbles in the fabric after applying the adhesive, try using a heat gun (on a low setting) to gently heat the fabric and smooth it out. Be careful not to overheat the fabric, as this can damage it.
- Adhesive Bleeding Through: If you apply too much adhesive, it might bleed through the fabric. Use a clean cloth to wipe away any excess adhesive immediately.
- Difficulty Removing Old Adhesive: Some old adhesives are very difficult to remove. Try using a specialized adhesive remover or consulting with an automotive upholstery shop for advice.
Fixing a droopy headliner is a project that can significantly improve the look and feel of your car's interior. By understanding the causes of sagging, choosing the right repair method, and taking preventative measures, you can keep your headliner looking its best for years to come. Remember to take your time, be patient, and don't hesitate to seek professional help if needed. Good luck fixing your sagging headliner!