Ever tripped over a wave in your carpet? That pesky buckling can be more than just an eyesore; it's a safety hazard waiting to happen. But don't worry, you don't necessarily need to call in a professional. Fixing buckled carpet is often a DIY project you can tackle yourself with a little patience and the right tools. Let's explore how to get your carpet smooth and flat again! Why is My Carpet Buckling? Understanding the Root Causes Before you dive into fixing the problem, it's helpful to understand why your carpet is buckling in the first place. Identifying the cause will not only help you choose the right solution but also prevent the problem from recurring. Common Culprits Behind Carpet Buckling: Improper Installation: This is the most frequent offender. If the carpet wasn't stretched correctly during installation, it's prone to loosening and buckling over time. Humidity: Excessive moisture can cause the carpet fibers and...
Finding a puddle around your hot tub is never a good sign, is it? It's a moment of dread for any hot tub owner. That sinking feeling when you realize your beloved relaxation haven is losing water faster than it should. But don't panic! Most hot tub leaks, while frustrating, are manageable with a bit of know-how and patience. This guide will walk you through the process of finding and fixing those pesky leaks, saving you time, money, and unnecessary stress.
Locating the Leak: Your Hot Tub Leak Detection Mission
The first step in fixing a hot tub leak is, naturally, finding where the water is escaping from. This can sometimes be tricky, as the leak might not be immediately obvious. Here's a systematic approach to becoming a hot tub leak detective:
The Bucket Test: Confirming a Leak
Before tearing everything apart, let's confirm if you actually have a leak exceeding normal evaporation. The bucket test is a simple way to do this. This test will help determine if the water loss you’re observing is normal evaporation or an actual leak that requires fixing.
- Fill your hot tub to its normal water level.
- Place a bucket filled with water on one of the steps inside the hot tub. Ensure the water level inside the bucket matches the water level in the hot tub. This is important to account for similar temperature and humidity conditions.
- Turn off the hot tub's jets and pumps to eliminate water movement.
- Mark the water level inside the bucket and the water level in the hot tub.
- Leave the bucket in the hot tub for 24 hours.
- After 24 hours, compare the water levels. If the hot tub's water level has dropped significantly more than the water level in the bucket, you likely have a leak.
Visual Inspection: Above and Below
Now that you've confirmed a leak, start with a thorough visual inspection. Walk around the entire hot tub, inside and out. Look for any signs of water pooling, dripping, or unusual dampness. Pay close attention to these areas:
- The Hot Tub Shell: Check for cracks, especially around jets, lights, and other fittings. Small cracks can be hard to spot, so look closely. Use a magnifying glass if necessary.
- The Equipment Area: This is where the pumps, heater, and other components are located. Look for leaks around pipe connections, unions, and the equipment itself. Feel for dampness under the equipment.
- The Hot Tub Cabinet: Inspect the inside of the cabinet for signs of water damage, mold, or mildew. This can indicate a leak within the plumbing.
- Around the Jets and Fittings: These are common leak points. Look for cracks or loose connections. Sometimes, simply tightening a jet can solve the problem.
- The Drain Plug: Ensure the drain plug is properly sealed.
Dye Test: Pinpointing the Exact Location of the Leak
If the visual inspection doesn't reveal the source, a dye test can be incredibly helpful. This involves using a non-toxic dye to trace the path of the leak.
- Purchase a hot tub leak detection dye. These dyes are usually available at pool and spa supply stores.
- With the pump off, slowly release the dye near suspected leak areas, such as jets, lights, and fittings.
- Observe where the dye is drawn into. If there's a leak, the dye will be pulled towards it, clearly indicating the source.
- Repeat the process around all potential leak points until you locate the source.
Important Note: Be sure to use a dye specifically designed for hot tubs. Regular dyes could stain the shell or affect the water chemistry.
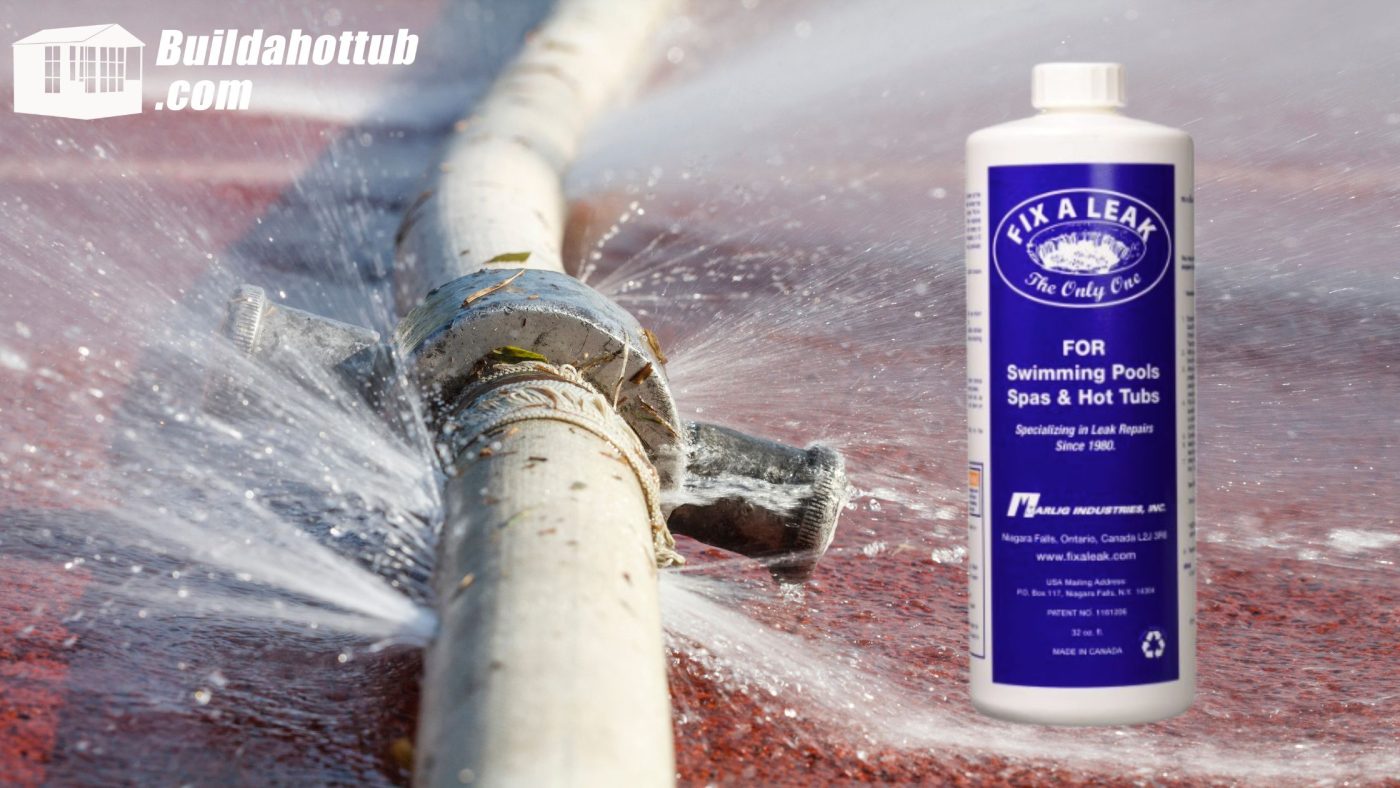
Fixing the Leak: Common Hot Tub Leak Repairs
Once you've found the leak, it's time to fix it! The repair method will depend on the location and severity of the leak. Here are some common hot tub leak fixes:
Tightening Fittings: The First Line of Defense to Fix a Hot Tub Leak
Often, a leak is simply caused by a loose fitting. Use a wrench to gently tighten any loose unions, jets, or other connections. Be careful not to overtighten, as this can damage the fitting.
Pro Tip: Before tightening, dry the area thoroughly. This will help you see if the tightening has solved the problem.
Replacing O-Rings and Gaskets: Sealing the Deal
O-rings and gaskets are rubber seals that prevent leaks around fittings and connections. Over time, they can dry out, crack, or become brittle, leading to leaks. Replacing these seals is a relatively simple and inexpensive fix. For example, statistics indicate that replacing o-rings can solve up to 30% of all hot tub leaks.
- Identify the leaking fitting.
- Turn off the power to the hot tub.
- Drain the water below the level of the fitting.
- Carefully remove the fitting.
- Remove the old O-ring or gasket.
- Clean the fitting and surrounding area.
- Install a new O-ring or gasket of the correct size and type.
- Reassemble the fitting and tighten it securely.
Patching Cracks in the Shell: A Hot Tub Shell Repair Guide
Small cracks in the hot tub shell can often be repaired with a hot tub shell repair kit. These kits typically include epoxy or acrylic patching compounds that are designed to bond to the shell material. This is how to fix a hot tub leak in this situation.
- Clean the area around the crack thoroughly. Remove any dirt, debris, or loose material.
- Sand the area lightly to create a rough surface for the patching compound to adhere to.
- Apply the patching compound according to the manufacturer's instructions.
- Allow the patching compound to cure completely.
- Sand the patched area smooth and blend it with the surrounding surface.
Note: For larger or more complex cracks, it's best to consult with a professional hot tub repair technician. Large cracks can compromise the structural integrity of the shell, and may require more extensive repairs.
Repairing Plumbing Leaks: Glueing the Cracks Away
Leaks in the plumbing pipes can be more challenging to repair, especially if they are located in hard-to-reach areas. For small leaks, you may be able to use PVC glue or sealant to patch the leak. For larger leaks or damaged pipes, you may need to replace the section of pipe. To fix a hot tub leak in the plumbing, here are the general steps:
- Turn off the power to the hot tub.
- Drain the water below the level of the leak.
- Cut out the damaged section of pipe.
- Clean the ends of the remaining pipe.
- Apply PVC primer to the ends of the pipe.
- Apply PVC glue to the ends of the pipe and the inside of the new pipe section.
- Insert the new pipe section and hold it in place until the glue sets.
Important Safety Tip: When working with plumbing, always use the correct type of glue and primer for the pipe material. Follow the manufacturer's instructions carefully.
When to Call a Professional: Knowing Your Limits in the Hot Tub Leak Fix
While many hot tub leaks can be fixed DIY, there are times when it's best to call a professional. Here are some situations where professional help is recommended:
- You're uncomfortable working with electrical components.
- The leak is in a hard-to-reach area.
- The leak is severe or the damage is extensive.
- You're not sure what's causing the leak.
- You've tried to fix the leak yourself but haven't been successful.
A qualified hot tub repair technician will have the experience, tools, and knowledge to diagnose and repair even the most challenging leaks. While it may cost more upfront, hiring a professional can save you time, money, and potential headaches in the long run.
Remember: Regular maintenance, such as checking fittings and inspecting for leaks, can help prevent problems before they occur. By being proactive and addressing small leaks promptly, you can keep your hot tub in top condition and enjoy years of relaxing soaks.